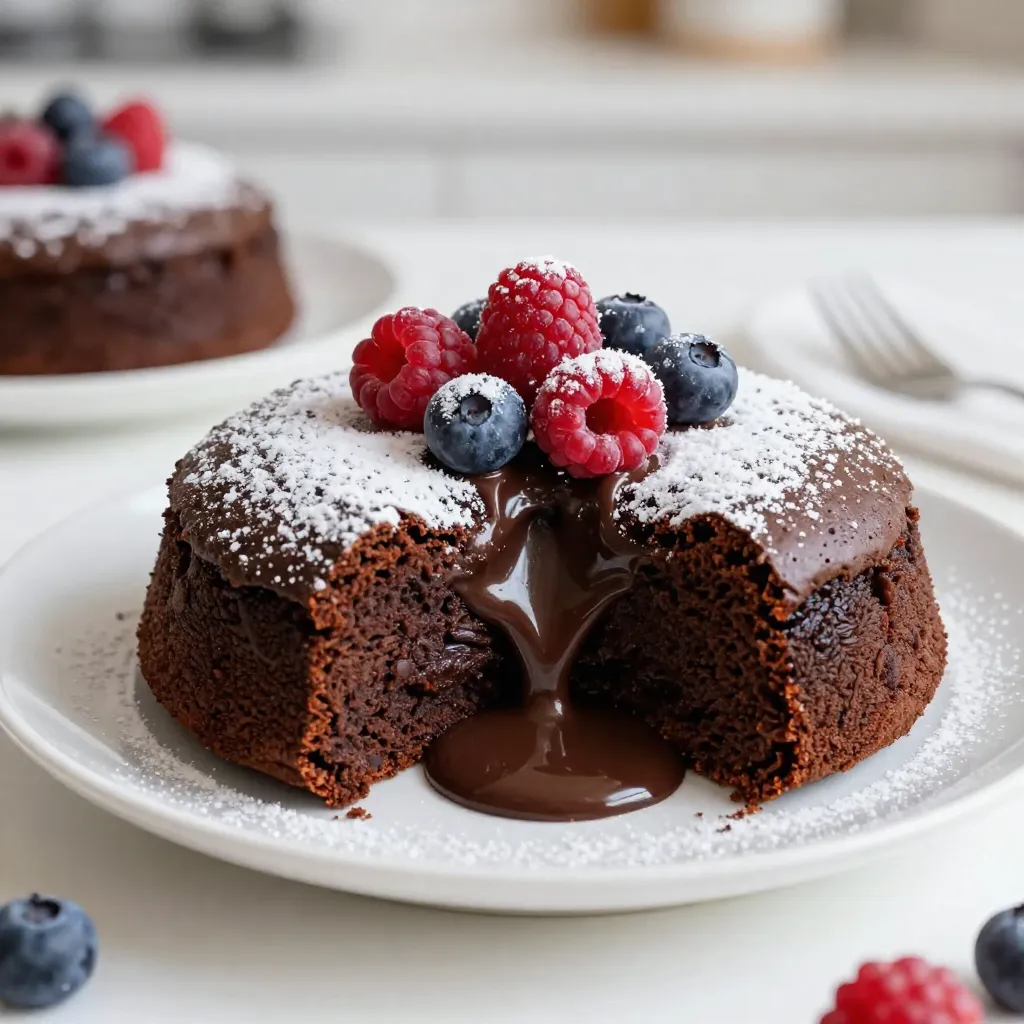
Are you ready to indulge in a warm, gooey treat? Molten Lava Chocolate Cakes are the ultimate dessert for any chocolate lover. These cakes ooze rich chocolate goodness with every bite. In this guide, I’ll share all the essential ingredients, step-by-step instructions, and smart tips to make your baking experience a breeze. Prepare for a sweet adventure that will impress everyone at your table!
Why I Love This Recipe
- Decadent Indulgence: This recipe delivers a rich chocolate experience that is perfect for special occasions or a cozy night in.
- Easy to Make:
- Impressive Presentation: The molten center creates a stunning visual effect when you cut into the cake, making it a showstopper at any dinner party.
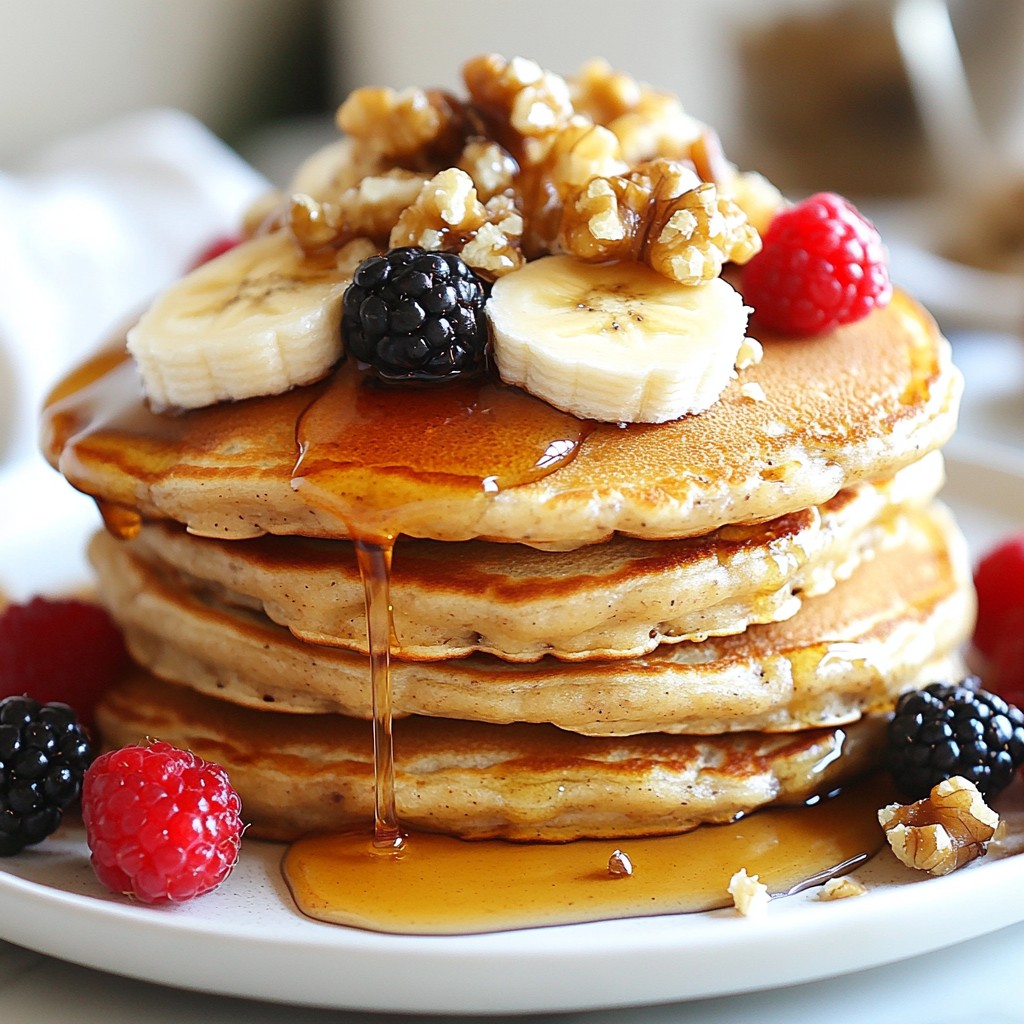
- Customizable: You can easily add your favorite flavors or toppings, such as berries or ice cream, to make it even more delightful.
Ingredients
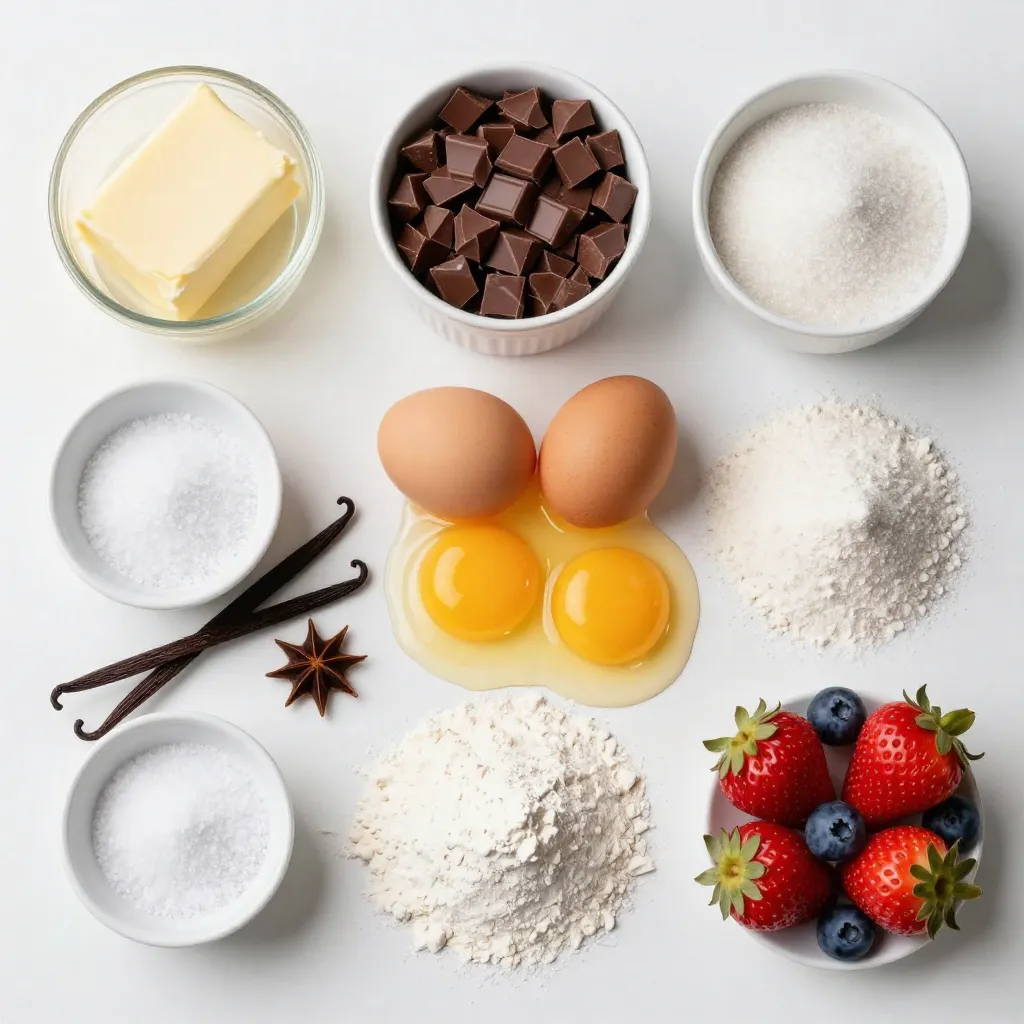
Complete List of Ingredients
To make molten lava chocolate cakes, gather these ingredients:
– 1/2 cup unsalted butter
– 1 cup semi-sweet chocolate chips
– 2 large eggs
– 2 large egg yolks
– 1/4 cup granulated sugar
– 2 tablespoons all-purpose flour
– 1 teaspoon vanilla extract
– Pinch of salt
– Powdered sugar (for dusting)
– Fresh berries (for garnish)
Ingredient Substitutions
You can swap ingredients without losing flavor. For butter, use coconut oil for a dairy-free option. Dark chocolate works well if you prefer a richer taste. If you need a sugar substitute, try brown sugar or coconut sugar. You can replace all-purpose flour with almond flour for a gluten-free version.
Tips for Choosing Quality Ingredients
Quality matters in baking. Choose high-quality semi-sweet chocolate chips. Look for brands with simple ingredients. Fresh eggs make a big difference in the texture. Use unsalted butter for better control of salt levels. When using vanilla, choose pure extract over imitation for a richer flavor. Pick fresh berries for garnish; they add color and taste to your dessert.
Step-by-Step Instructions
Prepping the Ramekins
Before you start, prepare your ramekins. Take four ramekins and grease them with butter. Then, add a little flour inside each one. Tap out the extra flour. This step helps the cakes come out easily after baking.
Melting Chocolate and Butter
Next, melt the chocolate and butter. In a microwave-safe bowl, mix 1/2 cup of unsalted butter with 1 cup of semi-sweet chocolate chips. Heat this mixture in the microwave for 30 seconds at a time. Stir after each interval until smooth. This creates the rich base for our cakes.
Mixing the Batter
Now, it’s time to make the batter. In a large bowl, whisk together 2 large eggs, 2 large egg yolks, and 1/4 cup of granulated sugar. Add 1 teaspoon of vanilla extract and mix until it’s slightly frothy. Then, slowly pour the melted chocolate into this egg mixture. Stir continuously until everything blends well. Next, sift in 2 tablespoons of all-purpose flour and a pinch of salt. Gently fold the mixture until just combined to keep it light.
Baking the Cakes
Prepare to bake! Divide the batter evenly among the ramekins. Place them on a baking sheet and put them in your preheated oven at 425°F (220°C). Bake for 12 minutes. The edges will be firm, but the centers should remain soft. This is key for that gooey center.
Serving Suggestions
Once baked, take the ramekins out. Let them sit for 1 minute. Carefully run a knife around the edges of each cake to loosen them. Invert the ramekins onto plates, gently tapping to release the cakes. Dust with powdered sugar and add fresh berries on top for a colorful touch. Enjoy this warm, chocolatey treat!
Tips & Tricks
Ensuring a Gooey Center
To get that perfect gooey center, follow these steps. Bake the cakes for exactly 12 minutes. If you bake them too long, they will not be molten. The edges should be firm, but the center must jiggle. Let them rest for one minute after baking. This rest lets the cakes set slightly while keeping the middle runny.
Common Mistakes to Avoid
Here are some common mistakes to watch out for. First, do not overmix the batter. Overmixing can make the cakes tough. Second, ensure your oven is preheated. A cold oven changes the cooking time. Lastly, avoid skipping the greasing step. If you don’t grease the ramekins well, the cakes may stick and break.
Recommended Baking Tools
Using the right tools helps make these cakes better. You need:
– Ramekins (4)
– Baking sheet
– Microwave-safe bowl
– Whisk
– Sifter
– Knife (for loosening cakes)
These tools will help you create the best molten lava cakes.
Pro Tips
- Use High-Quality Chocolate: The flavor of your molten lava cakes greatly depends on the quality of the chocolate you use. Opt for high-quality semi-sweet chocolate chips for the best taste.
- Don’t Overbake: Keeping an eye on the baking time is crucial. Remove the cakes from the oven as soon as the edges are firm, but the center is still soft to ensure that molten center.
- Let Them Rest: Allow the cakes to sit for a minute after baking. This helps them to set slightly and makes it easier to invert them without breaking.
- Experiment with Flavors: Feel free to add a splash of espresso or a pinch of sea salt to the chocolate mixture for an enhanced flavor profile that complements the sweetness.
Variations
Flavor Variations
You can easily change the flavor of your molten lava chocolate cakes. Try adding raspberry puree for a fruity twist. Just mix a few tablespoons into the batter. Espresso powder gives a rich coffee taste. Mix in one teaspoon for a deep flavor. You can also use orange zest for a bright, citrus kick. This makes each bite feel new.
Gluten-Free Options
Want a gluten-free version? Simply swap out the all-purpose flour for gluten-free flour. Brands like almond or coconut flour work well. They give a nice texture and keep the cake rich. Use the same amount as the recipe states for regular flour. This way, everyone can enjoy the treat.
Serving Ideas
Serving ideas can make your cake even more delightful. A scoop of vanilla ice cream pairs nicely, melting into the warm center. You can also drizzle chocolate or caramel sauce over the top. Fresh berries add color and flavor. Dust with powdered sugar for a pretty finish. These simple touches can elevate your dessert.
Storage Info
Storing Leftover Cakes
To store leftover molten lava cakes, let them cool first. Then, wrap each cake in plastic wrap. Place them in an airtight container. They will stay fresh for up to two days in the fridge. Avoid stacking them to keep the shape intact.
Reheating Instructions
To reheat the cakes, take them out of the fridge. Remove the plastic wrap and place them on a microwave-safe plate. Heat the cakes for 15-20 seconds. Check if the center is warm and gooey. If not, heat for another 10 seconds. Avoid overheating, or the center may harden.
Freezing Molten Lava Cakes
You can freeze molten lava cakes for later. Wrap each cooled cake tightly in plastic wrap. Place them in a freezer-safe bag or container. They can last for up to three months in the freezer. To enjoy, thaw them in the fridge overnight. Then, reheat as mentioned above for the best results.
FAQs
How long do I bake molten lava cakes?
Bake molten lava cakes for 12 minutes at 425°F (220°C). The edges should be firm, but the center must stay soft. If you bake them too long, you lose that gooey center. Watch them closely, and trust your oven timer!
Can I make the batter ahead of time?
Yes, you can prepare the batter ahead of time. Just mix everything and store it in the fridge. If you do this, bake the cakes within 24 hours for the best results. Bring the batter to room temp before baking for even cooking.
What can I serve with molten lava cakes?
I love serving molten lava cakes with fresh berries and a sprinkle of powdered sugar. You can also add a scoop of vanilla ice cream for a rich, creamy contrast. Chocolate sauce or whipped cream can also enhance the treat.
Why did my cakes not rise?
If your cakes did not rise, it might be due to overmixing the batter. This can lead to dense cakes. Ensure you fold in the flour gently. Another reason could be expired baking ingredients, like flour or eggs. Always check freshness!
Can I use dark chocolate instead of semi-sweet?
Absolutely! Dark chocolate adds a richer flavor. Use a high-quality dark chocolate to keep that smooth texture. Just remember, dark chocolate may make the cakes less sweet, so adjust sugar if needed. Enjoy experimenting!
You learned about making molten lava cakes step by step. We covered ingredients, techniques, and tips to ensure a gooey center. Remember to choose quality items for the best result. Avoid common mistakes, and don’t hesitate to try flavor variations for more fun. Storing and reheating those treats is easy too. These cakes bring joy to any occasion. Enjoy your baking journey, and indulge in each delicious bit